Three Camera Set-ups
Easy ways to start creating your own content from home
Following on from our last vlog, where we discussed different types of content you can create from home, today we’re going to look in more detail at video pieces-to-camera and more specifically audio.
They say audio is 90% of the video and it’s kind of true.
If shooting from home, we’d recommend checking out these three set-ups, you now have no excuses to keep getting that message out there and connecting with your clients!

Set-up 1: Laptops
Laptops are the first port of call when it comes to creating your own content from home. Just about everyone has one and the quality of the inbuilt cameras and microphones are getting better each year. Having said this, there are limitations and if you’re expecting a Speilberg masterpiece from your trusty ol’ laptop, you may be disappointed!
When using a laptop, make sure you’re in a nice bright room (ideally with a window behind the camera) and for the best audio, stay as close to your laptop as possible. A head and shoulders shot is best. Keep the camera at eye level (not looking up your nose!) and remember to give yourself a bit of headroom so you’re not cutting through the top of your head!

Set-up 2: Phone and shotgun microphone
So once you’ve mastered the basics of shooting quick videos on your laptop you might be feeling adventurous and want to up the ante. An easy way to do this is by using your smartphone.
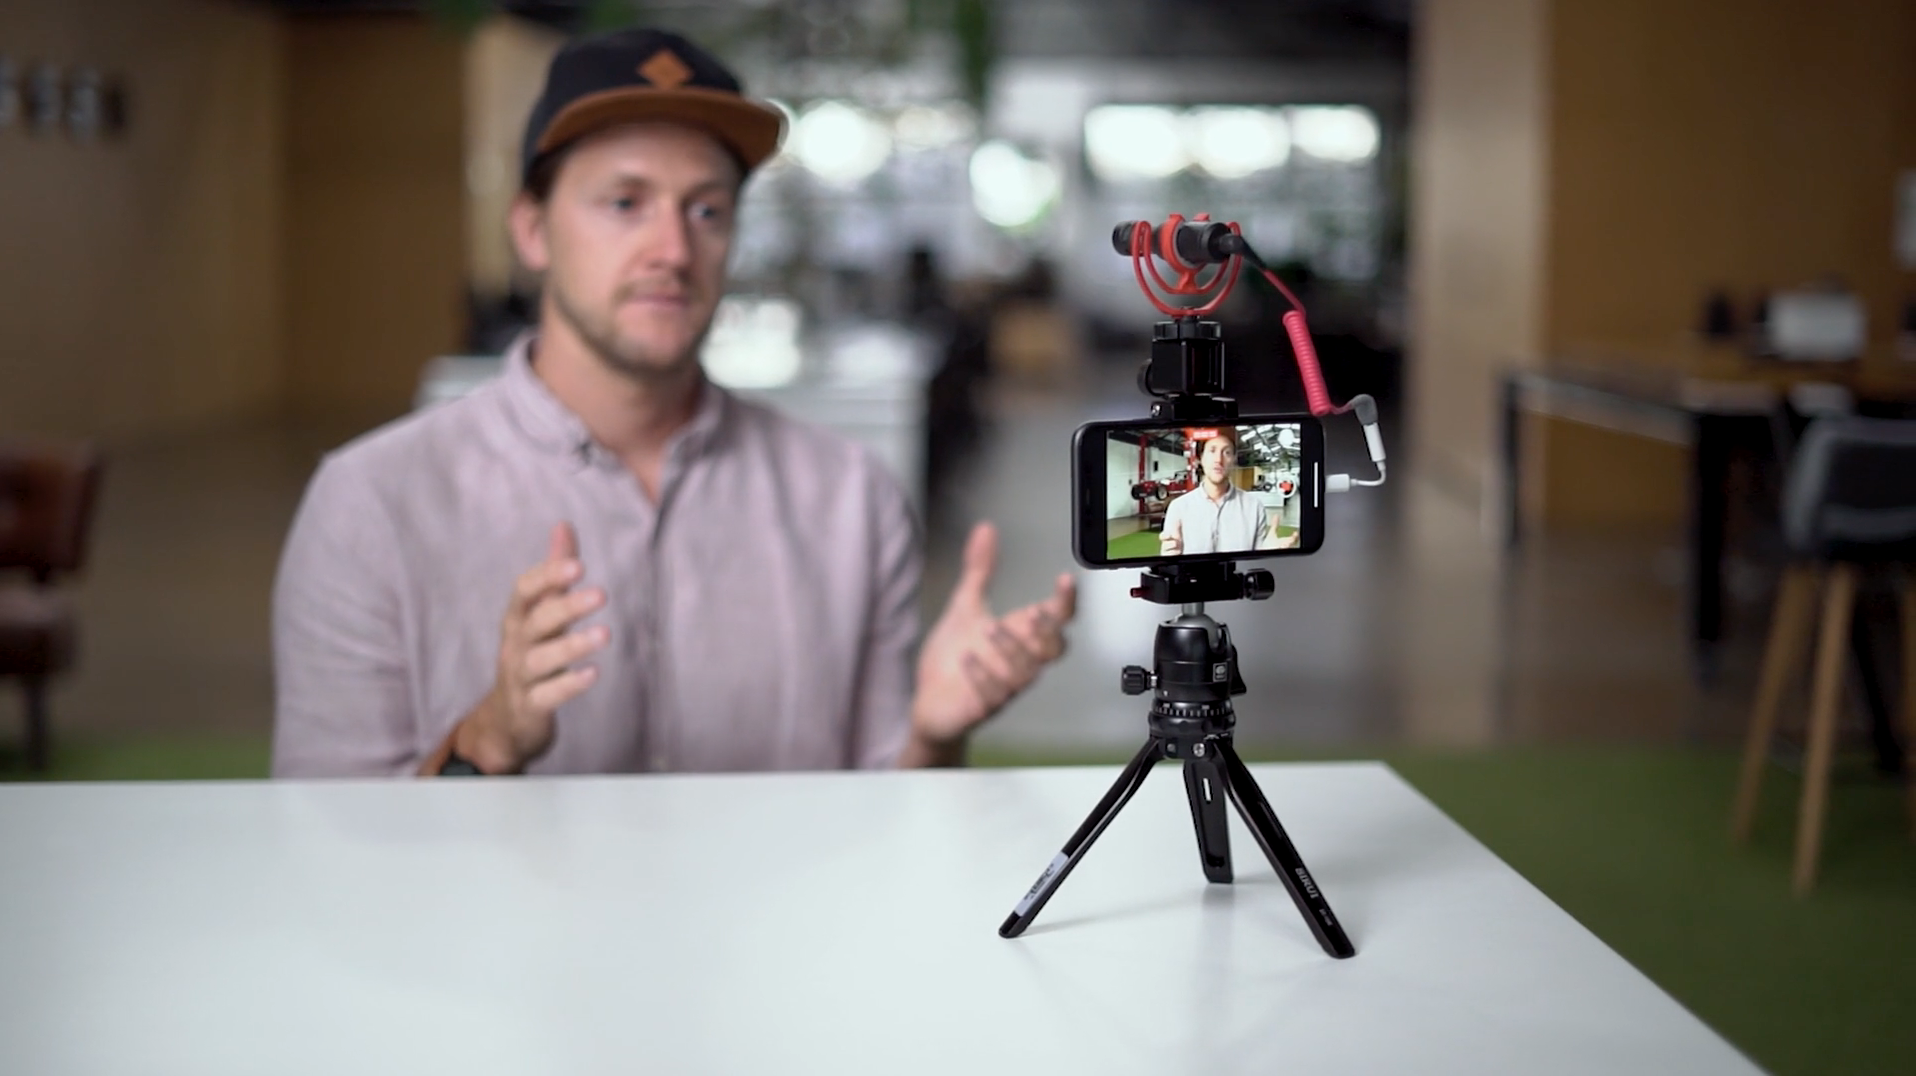
This is an instant upgrade from the camera in your laptop. And while you could use the phone’s in-built microphone, a simple way to enhance your phone’s audio is to upgrade to a shotgun microphone. Whilst this may sound intimidating, a shotgun mic gets its name from its cylindrical shape and is totally safe – we promise!
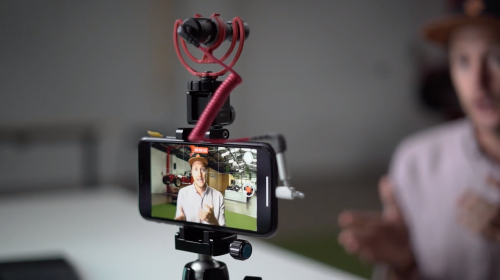
This type of microphone is what we call ‘directional’ so when you point it in a direction it will focus mainly on picking up the audio in that spot as opposed to all around you. This is helpful when you’re talking directly to the camera and want to isolate your voice as much as possible. In this video, we’ve used the Video Mic Pro from Rode.

Set-up 3: Phone and wireless lapel microphone
So whilst the shotgun microphone will improve your audio dramatically from the basic laptop microphone, the limitation with this type of mic is that you need to be close to the camera for it to work. “But what if I want to get a wider shot?” you might be thinking.
The solution for this is a wireless lapel mic. Again this may sound a bit daunting but bear with us here. A lapel mic is a microphone on the end of a cable that attaches to your collar, This then plugs into a transmitter, which sends the audio wirelessly to a receiver that’s plugged into your camera. Simple right!
With the microphone close to your mouth and attached to your body, you can move around as much as you want, while your audio stays nice and crisp.
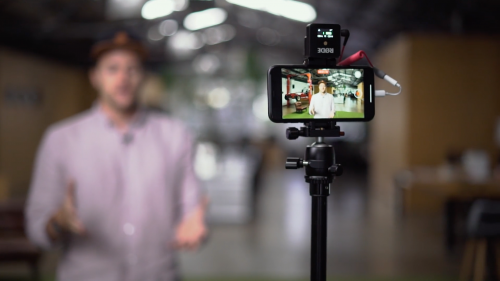
In this video, we’ve used the Rode Wireless Go which is a great product as it’s small, portable, and even has a mic built into the transmitter if you don’t mind seeing it in shot.

Polish your content with graphics
One last thing to consider…
If you really want to crank your videos to 11, then polish your content. Adding branded titles, lower thirds, transitions, colour grading and audio mixing to your content will make it stand out for being professional, consistent and on-brand.
So that wraps up this blog on how you can start creating some of your own content from home. We hope you got something out of it and if you have any specific questions about the gear we discuss, lighting, framing or anything else feel free to give us a call and we’re always happy to help.
Happy creating!


